Video recording an interview for a class project, promotional video, or documentary may at first seem rather easy. But there are some minor issues that often get overlooked. Bad lighting, distracting backgrounds, and poor sound quality can often take away from the actual interview content. Here are some tips to make sure your next interview is a success.
The best place to shoot an interview is in an already quiet place with good lighting. Avoid a plain white wall background as it can be dull. Consider using a background that reveals something about the person being interviewed. If possible leave more than 4 feet between the wall and the subject. Always frame the interviewee with some negative space in the direction they are looking and have them angled so that it looks like there’s a conversation between two people. It can also be effective to have a subject speak directly to the camera. Whatever method you decide keep it consistent.
Another good rule to follow is the rule of thirds. To use this, simply divide the video frame into thirds both vertically and horizontally. Avoid the spaces created by the imaginary lines and instead use the points where the lines intersect for the subject. We naturally gravitate to those imaginary intersections and it gives a better, more pleasing composition.
If recording at home, look for extra lamps or lights that can help light the face evenly and to light the head and shoulders as well to create some separation from the background. Keep an eye out for glare on glasses and shiny spots on top of noses and foreheads. Exposure guides on cameras such as Zebra markers that show white strips on the brightest areas can help with shine.
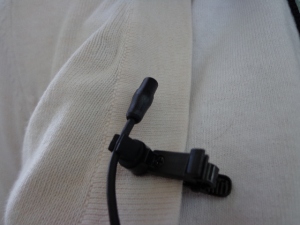
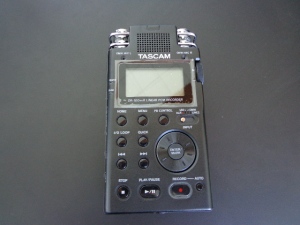
Using the camera’s built-in microphone is never the best choice. We recommend using a lavaliere mic hooked up to the camera or a separate Tascam audio recorder. These approaches are more professional and less intrusive to the viewer. Although, it may seem like more work to sync the audio and video together in post editing, the better sound quality will be well worth it. Use headphones and test the audio levels before you start recording. If the levels reach 0dB in the red, the audio may be distorted and difficult to fix. Keep in mind wind, hair or clothes rubbing against the mic will also cause distorted sounds.
That is just some of the basics. Come by Studio 300 and check out the cameras and microphones and any help you need setting up for an interview and editing it together. To learn more, sign up for Planning and Producing a Mini Documentary


